PRESTO PLANS
Sent straight to your inbox
CLICK HERE TO ACCESS
Sign up to receive 10 ready-to-use ELA resources your students will love!
10 FREE ELA RESOURCES
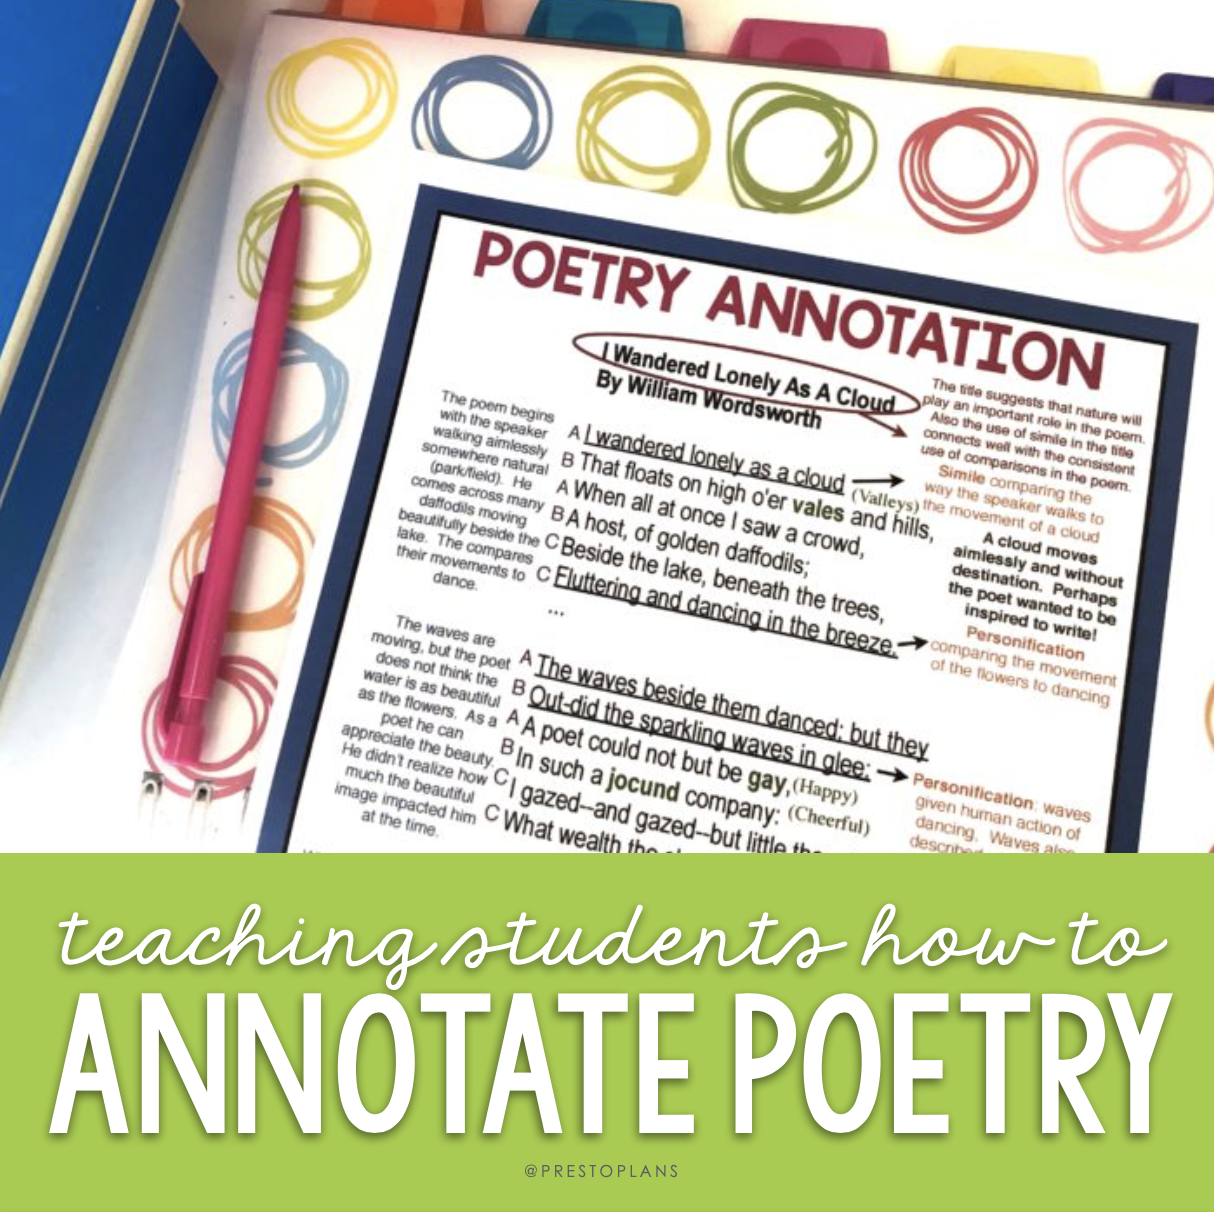
Teaching Students How to Annotate Poetry
Although the poetic words of Poe, Shakespeare, Dickinson, or Hughes probably cause your English teacher heart to flutter, it’s unlikely that all your students have the same experience. We all know that it’s not uncommon for students to be left scratching their heads after reading a complex poem, wondering what in the world it means. This is especially true when they don’t have the tools and practice they need to annotate poetry.
In the same way that a baker isn’t going to successfully make a cake without first knowing how to read a recipe, students aren’t going to be able to successfully interpret poetry without giving them the tools to know how to go about doing so.
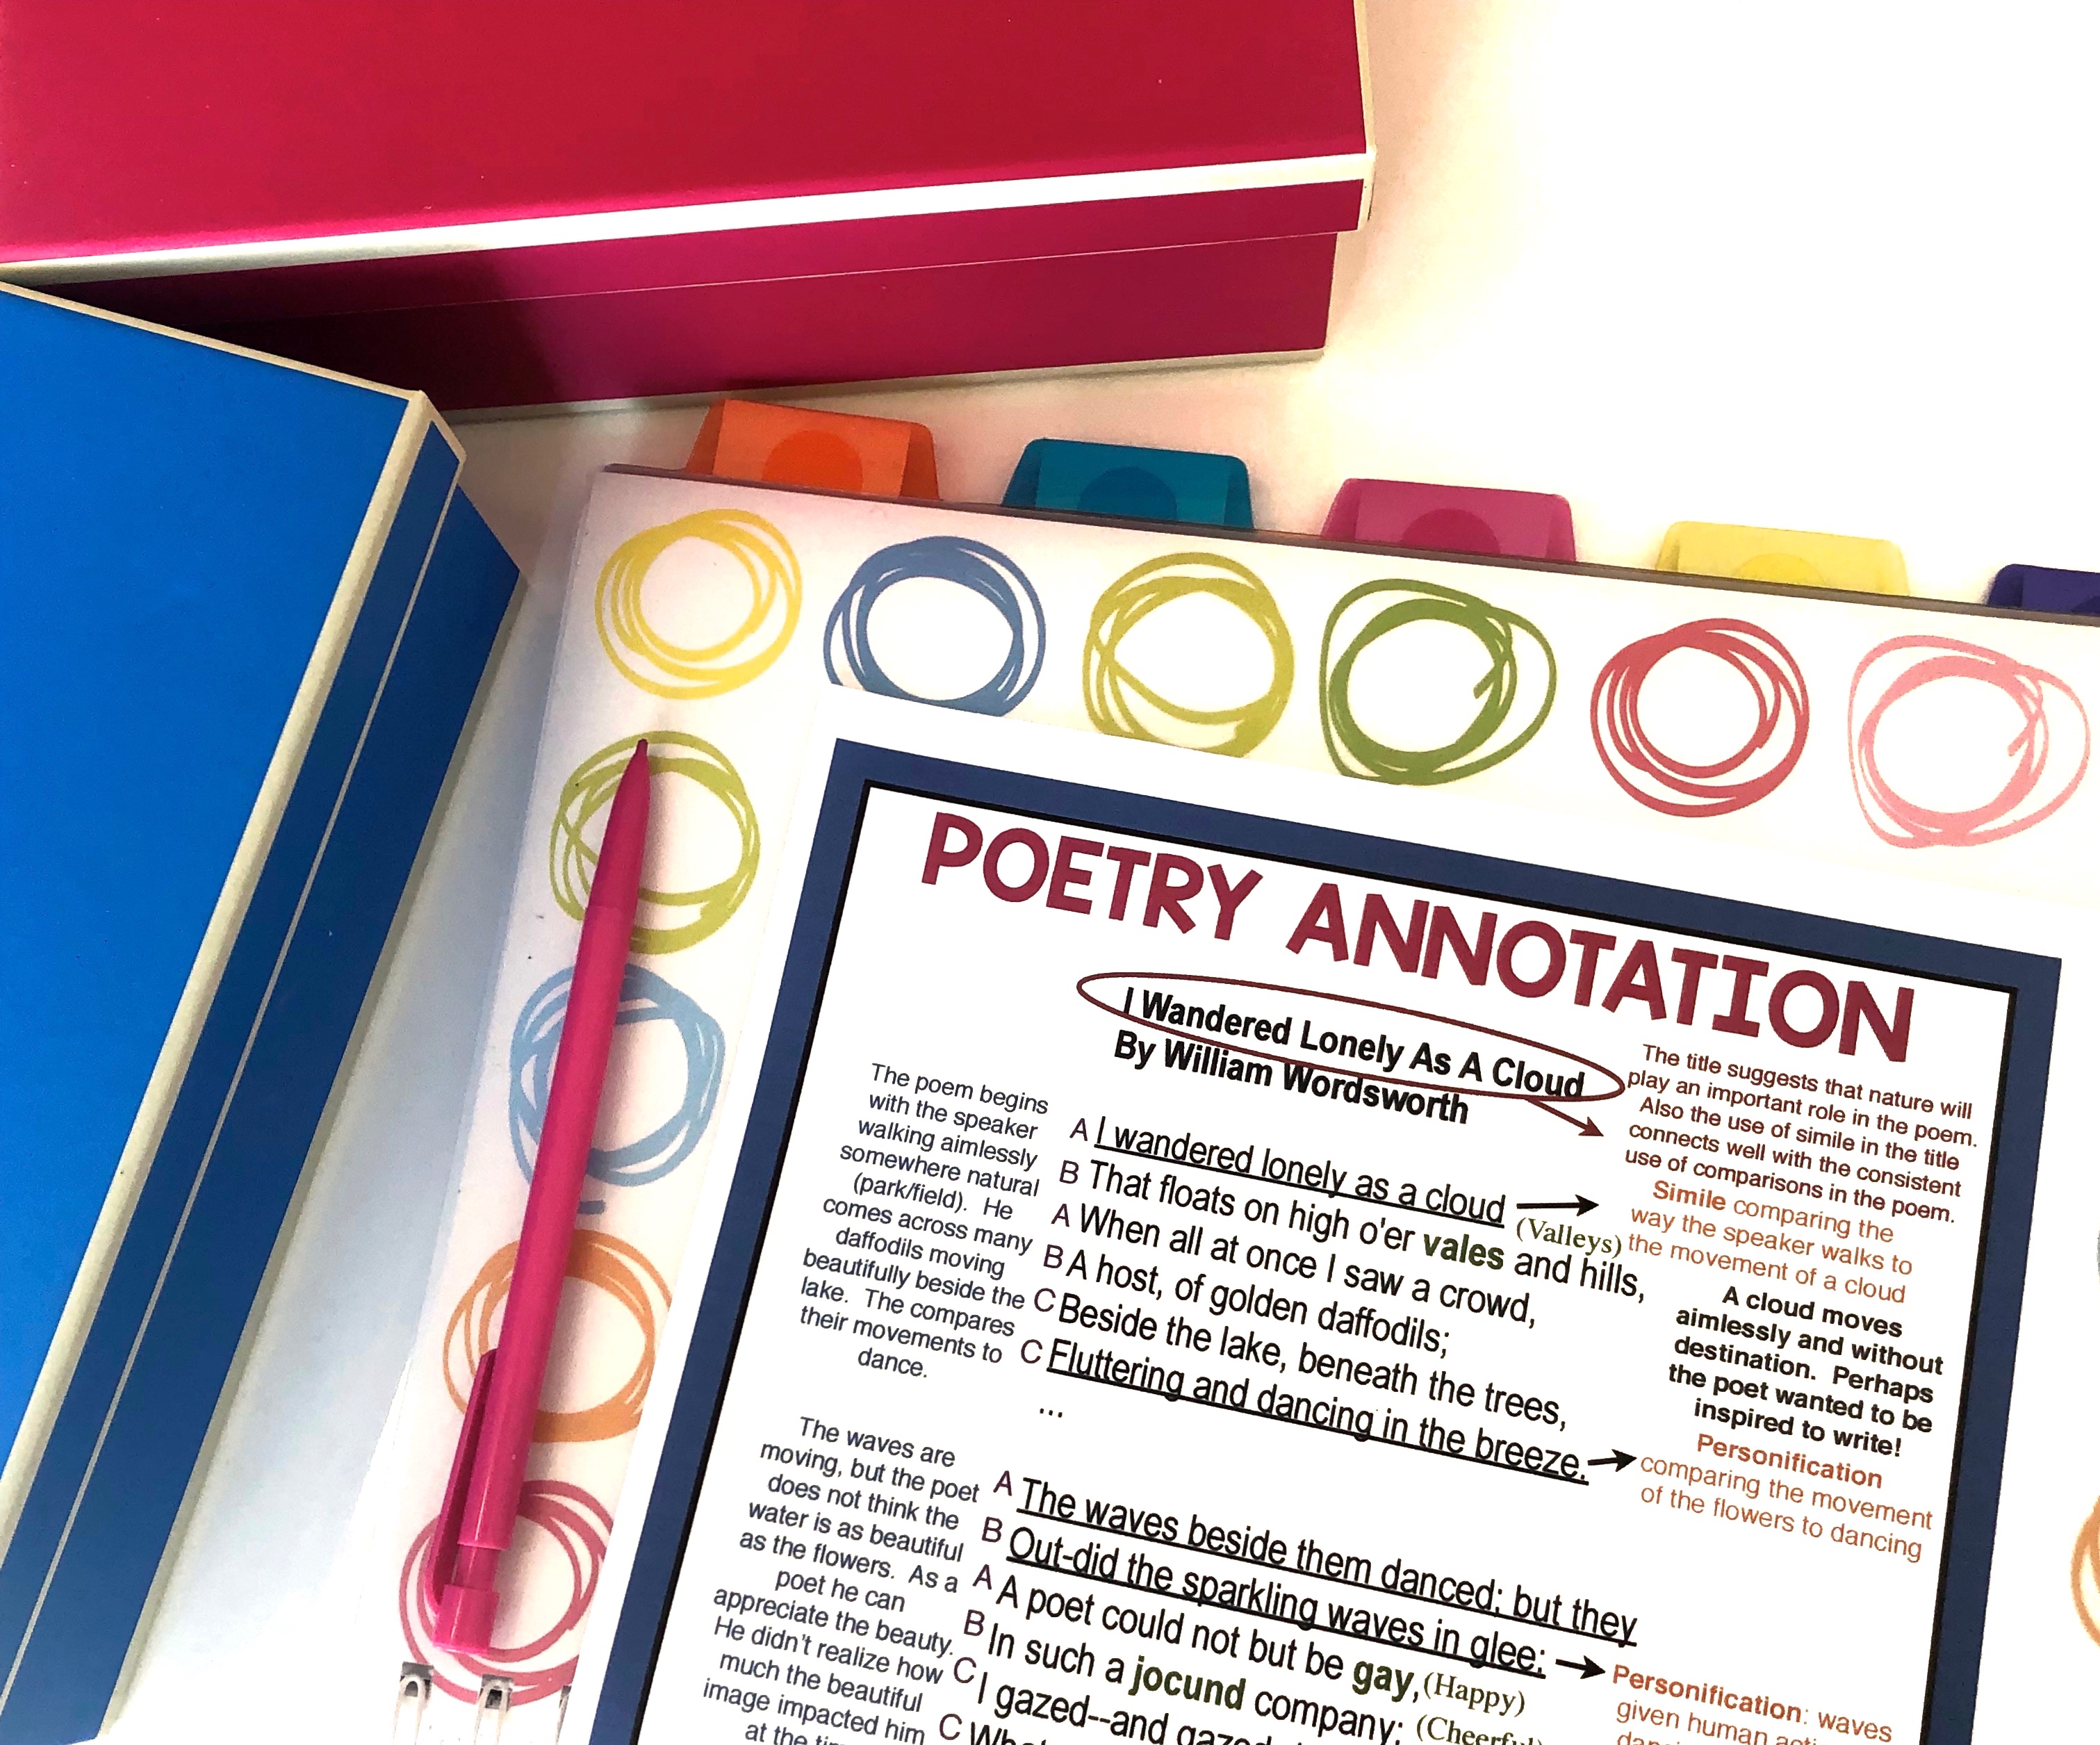
Below, I’ve broken the annotation process down into 7 simple steps. I suggest choosing a poem (I often use I Wandered Lonely as a Cloud by William Wordsworth) and guiding students through the entire annotation process explained below.
Step 1: Reflect on the Poem’s Title
Trying to imagine what a Seventeenth Century poet’s intentions were for naming their masterpiece can feel a bit daunting at first. It might make a person feel like they should either be a mindreader or have a time machine.
However, poetry titles are always chosen with intention, so taking the time to consider whether the title is significant to the meaning of the poem and why the author chose it is a good place to start when you annotate a poem. There are no right or wrong answers for this, and it is important to know that sometimes the significance of the title isn’t initially clear to the reader until they have completed the other steps and have come to understand the poem more deeply.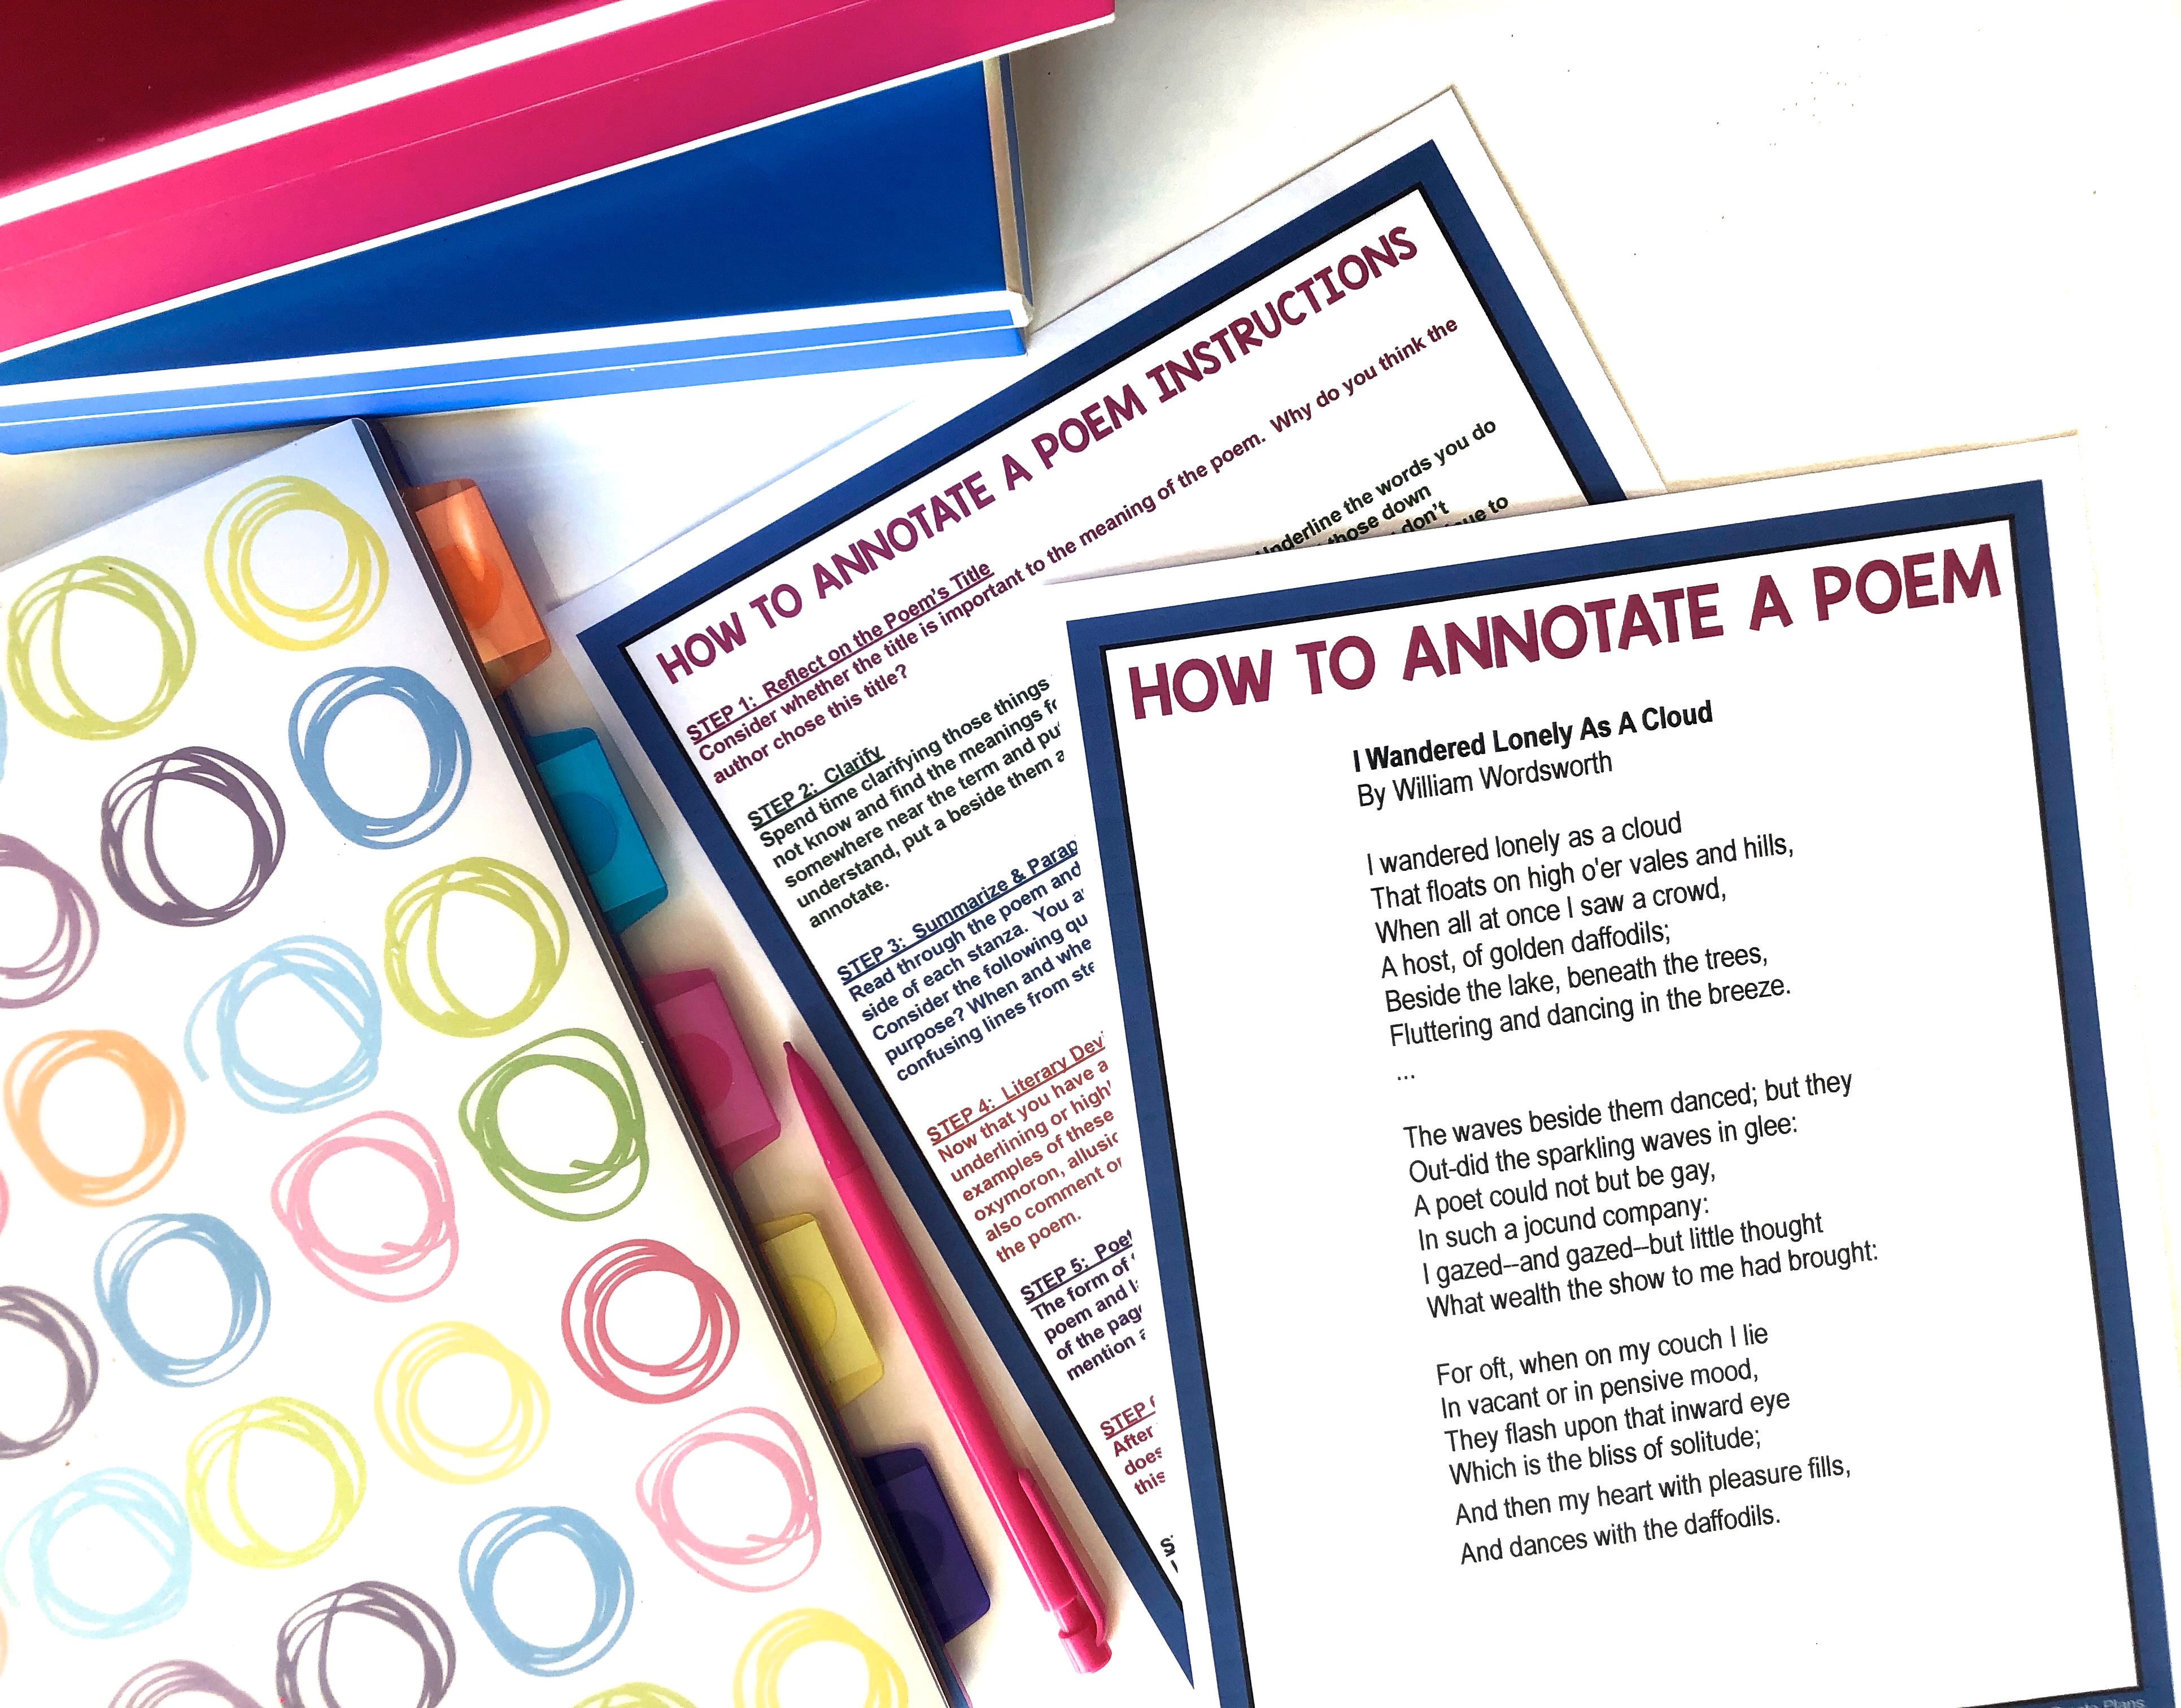
Step 2: Clarify
One of the most rewarding parts about annotating poetry is when the light bulb goes off and a vague or confusing concept becomes crystal clear. In order for concepts to emerge with this kind of clarity, you have to first spend time identifying what you do not understand. Start by underlining the words you do not know and finding their meanings (or synonyms). Jot those down somewhere near the terms and put them in brackets. If there are lines you don’t understand, put a star beside them and see if they become more clear as you continue to annotate.
Step 3: Summarize & Paraphrase
Have students consider the who, where, what, when, why of the poem. What story is the poet telling? Who is speaking? To whom? In this step, some of the confusing lines from step 2 may become more clear. In many ways, annotating poetry is like piecing together a puzzle. As each piece falls into its perfect place, the bigger picture becomes increasingly clear.
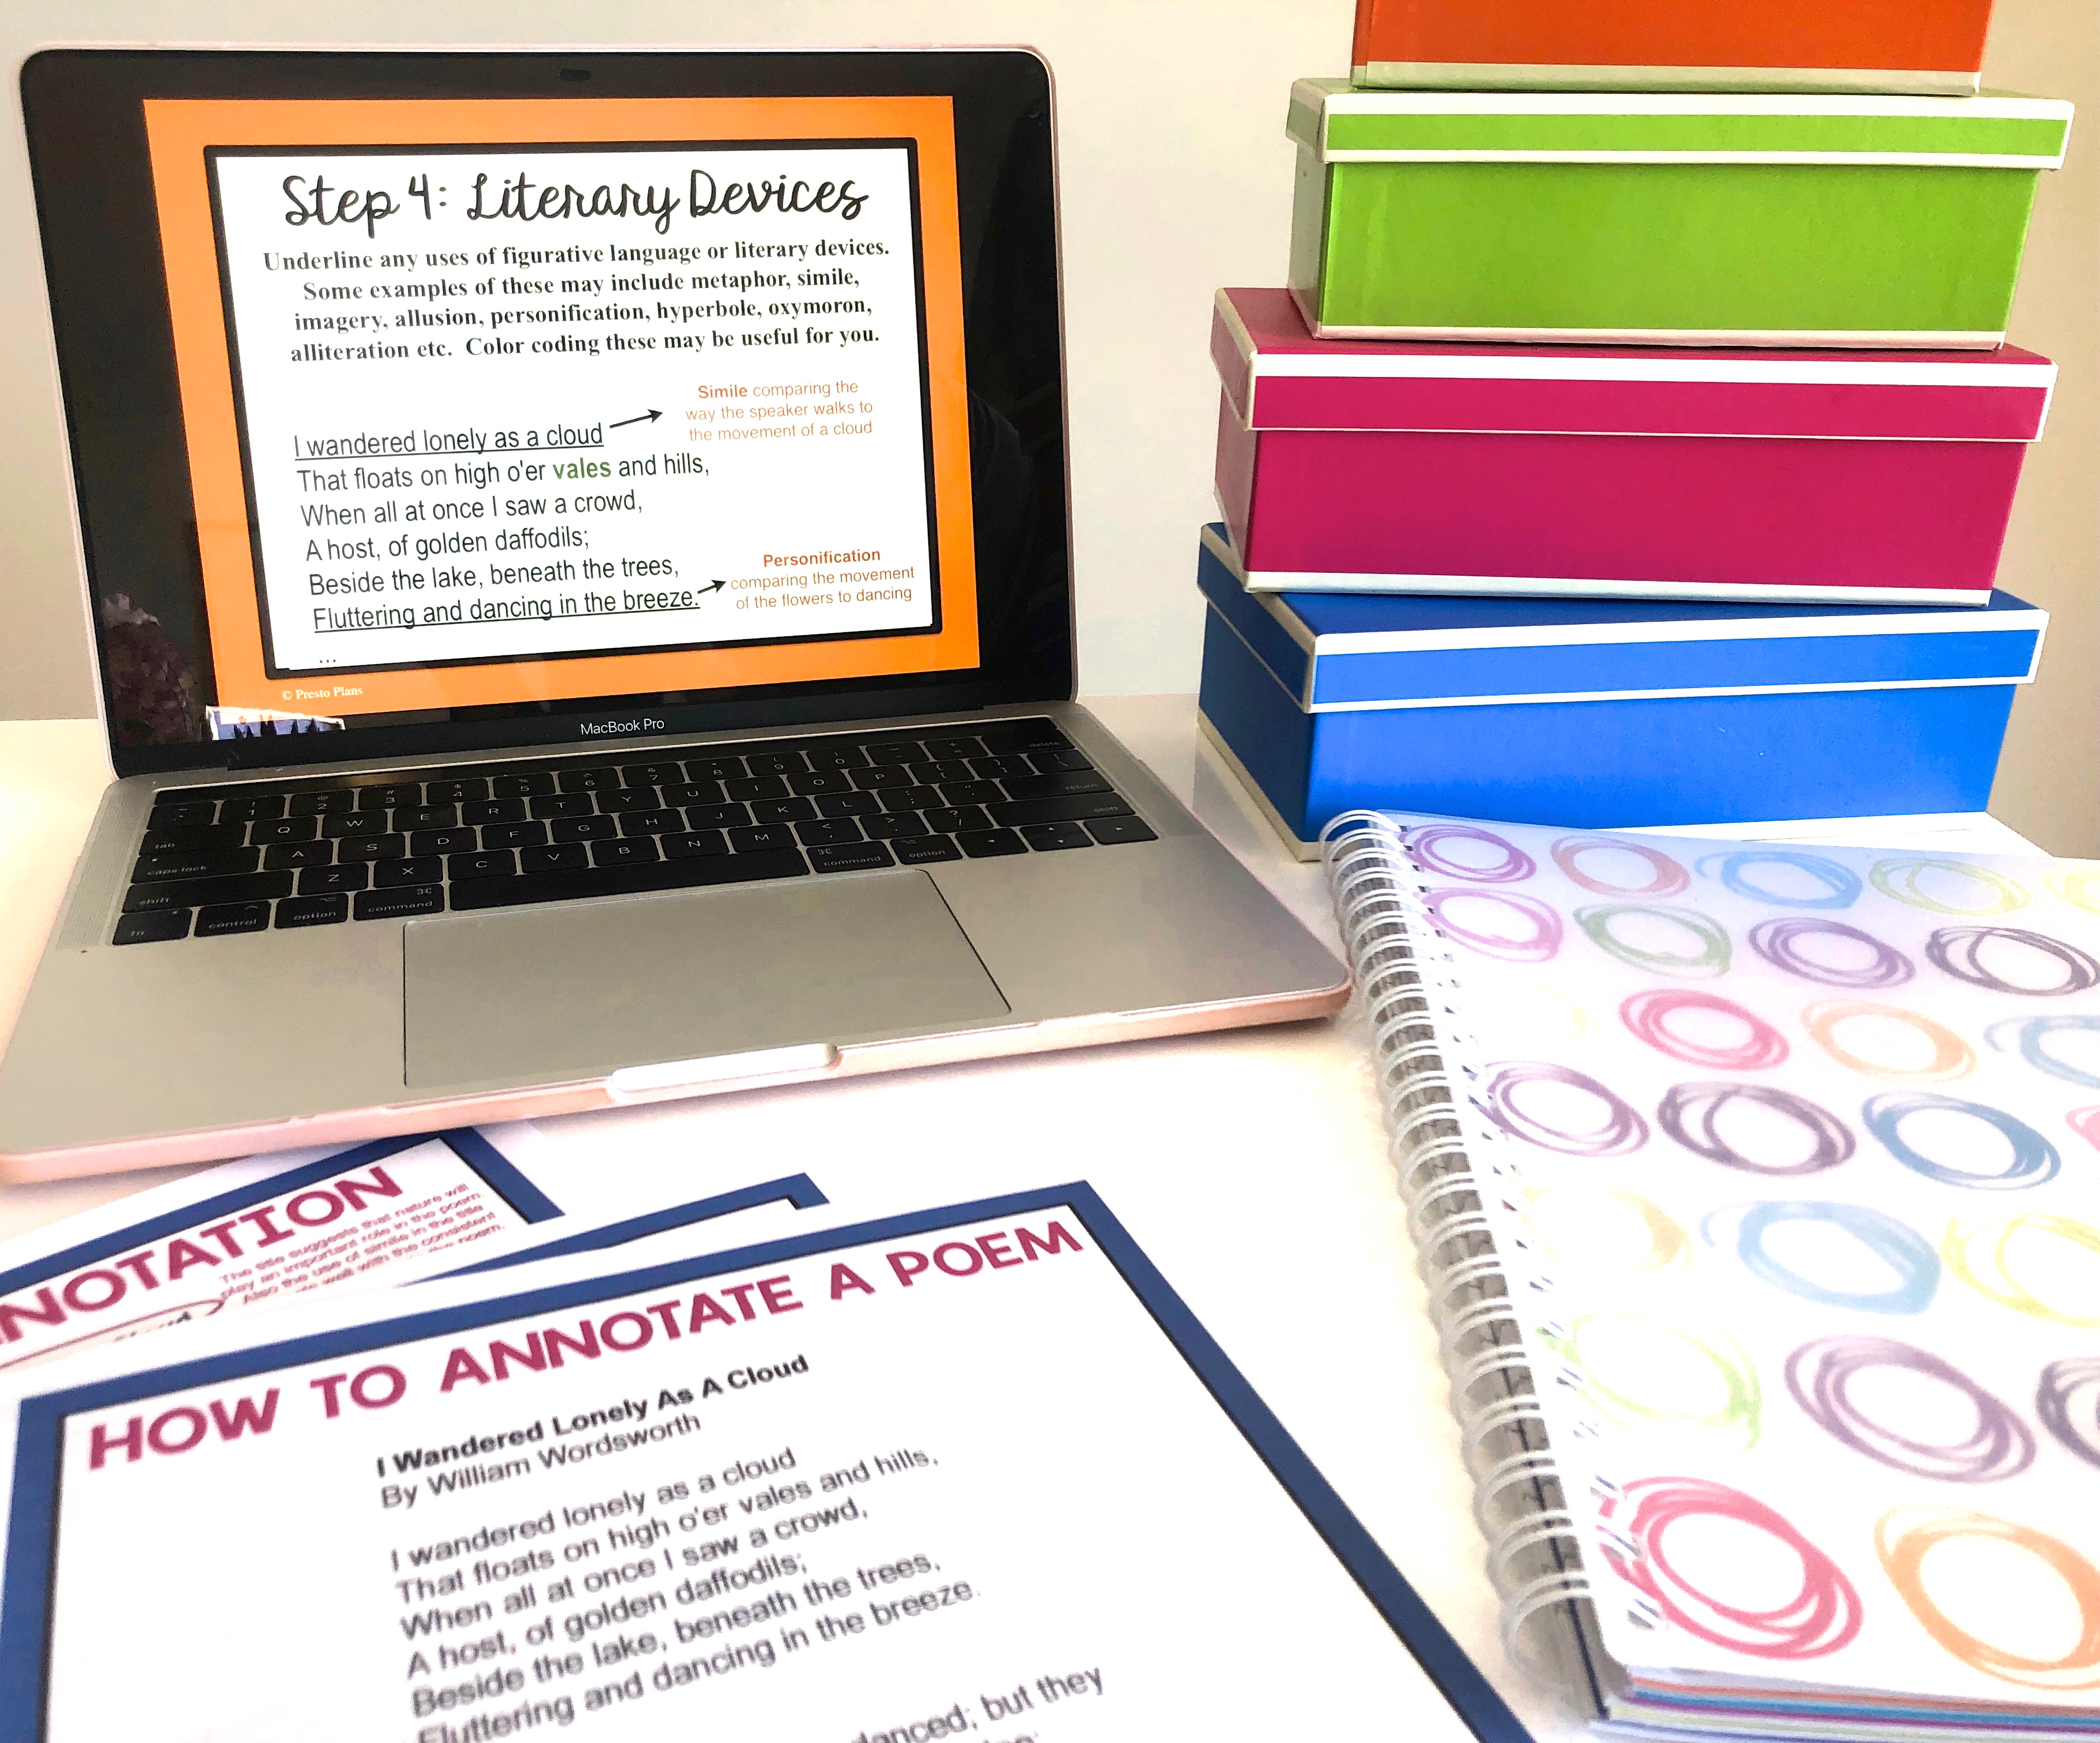
Step 4: Literary Devices
Now that students have a basic understanding of what is happening in the poem, you can have them dive a bit deeper by highlighting and evaluating the uses of figurative language or literary devices. Some examples of these may include metaphor, simile, imagery, personification, hyperbole, oxymoron, allusion, alliteration, etc. Ensure that your students are not simply labeling the examples, but also consider why the author chose to use this device or what it does to enhance the poem. I use Wordsworth’s masterful use of figurative language to show students how comparisons can enhance descriptions and form comparisons.
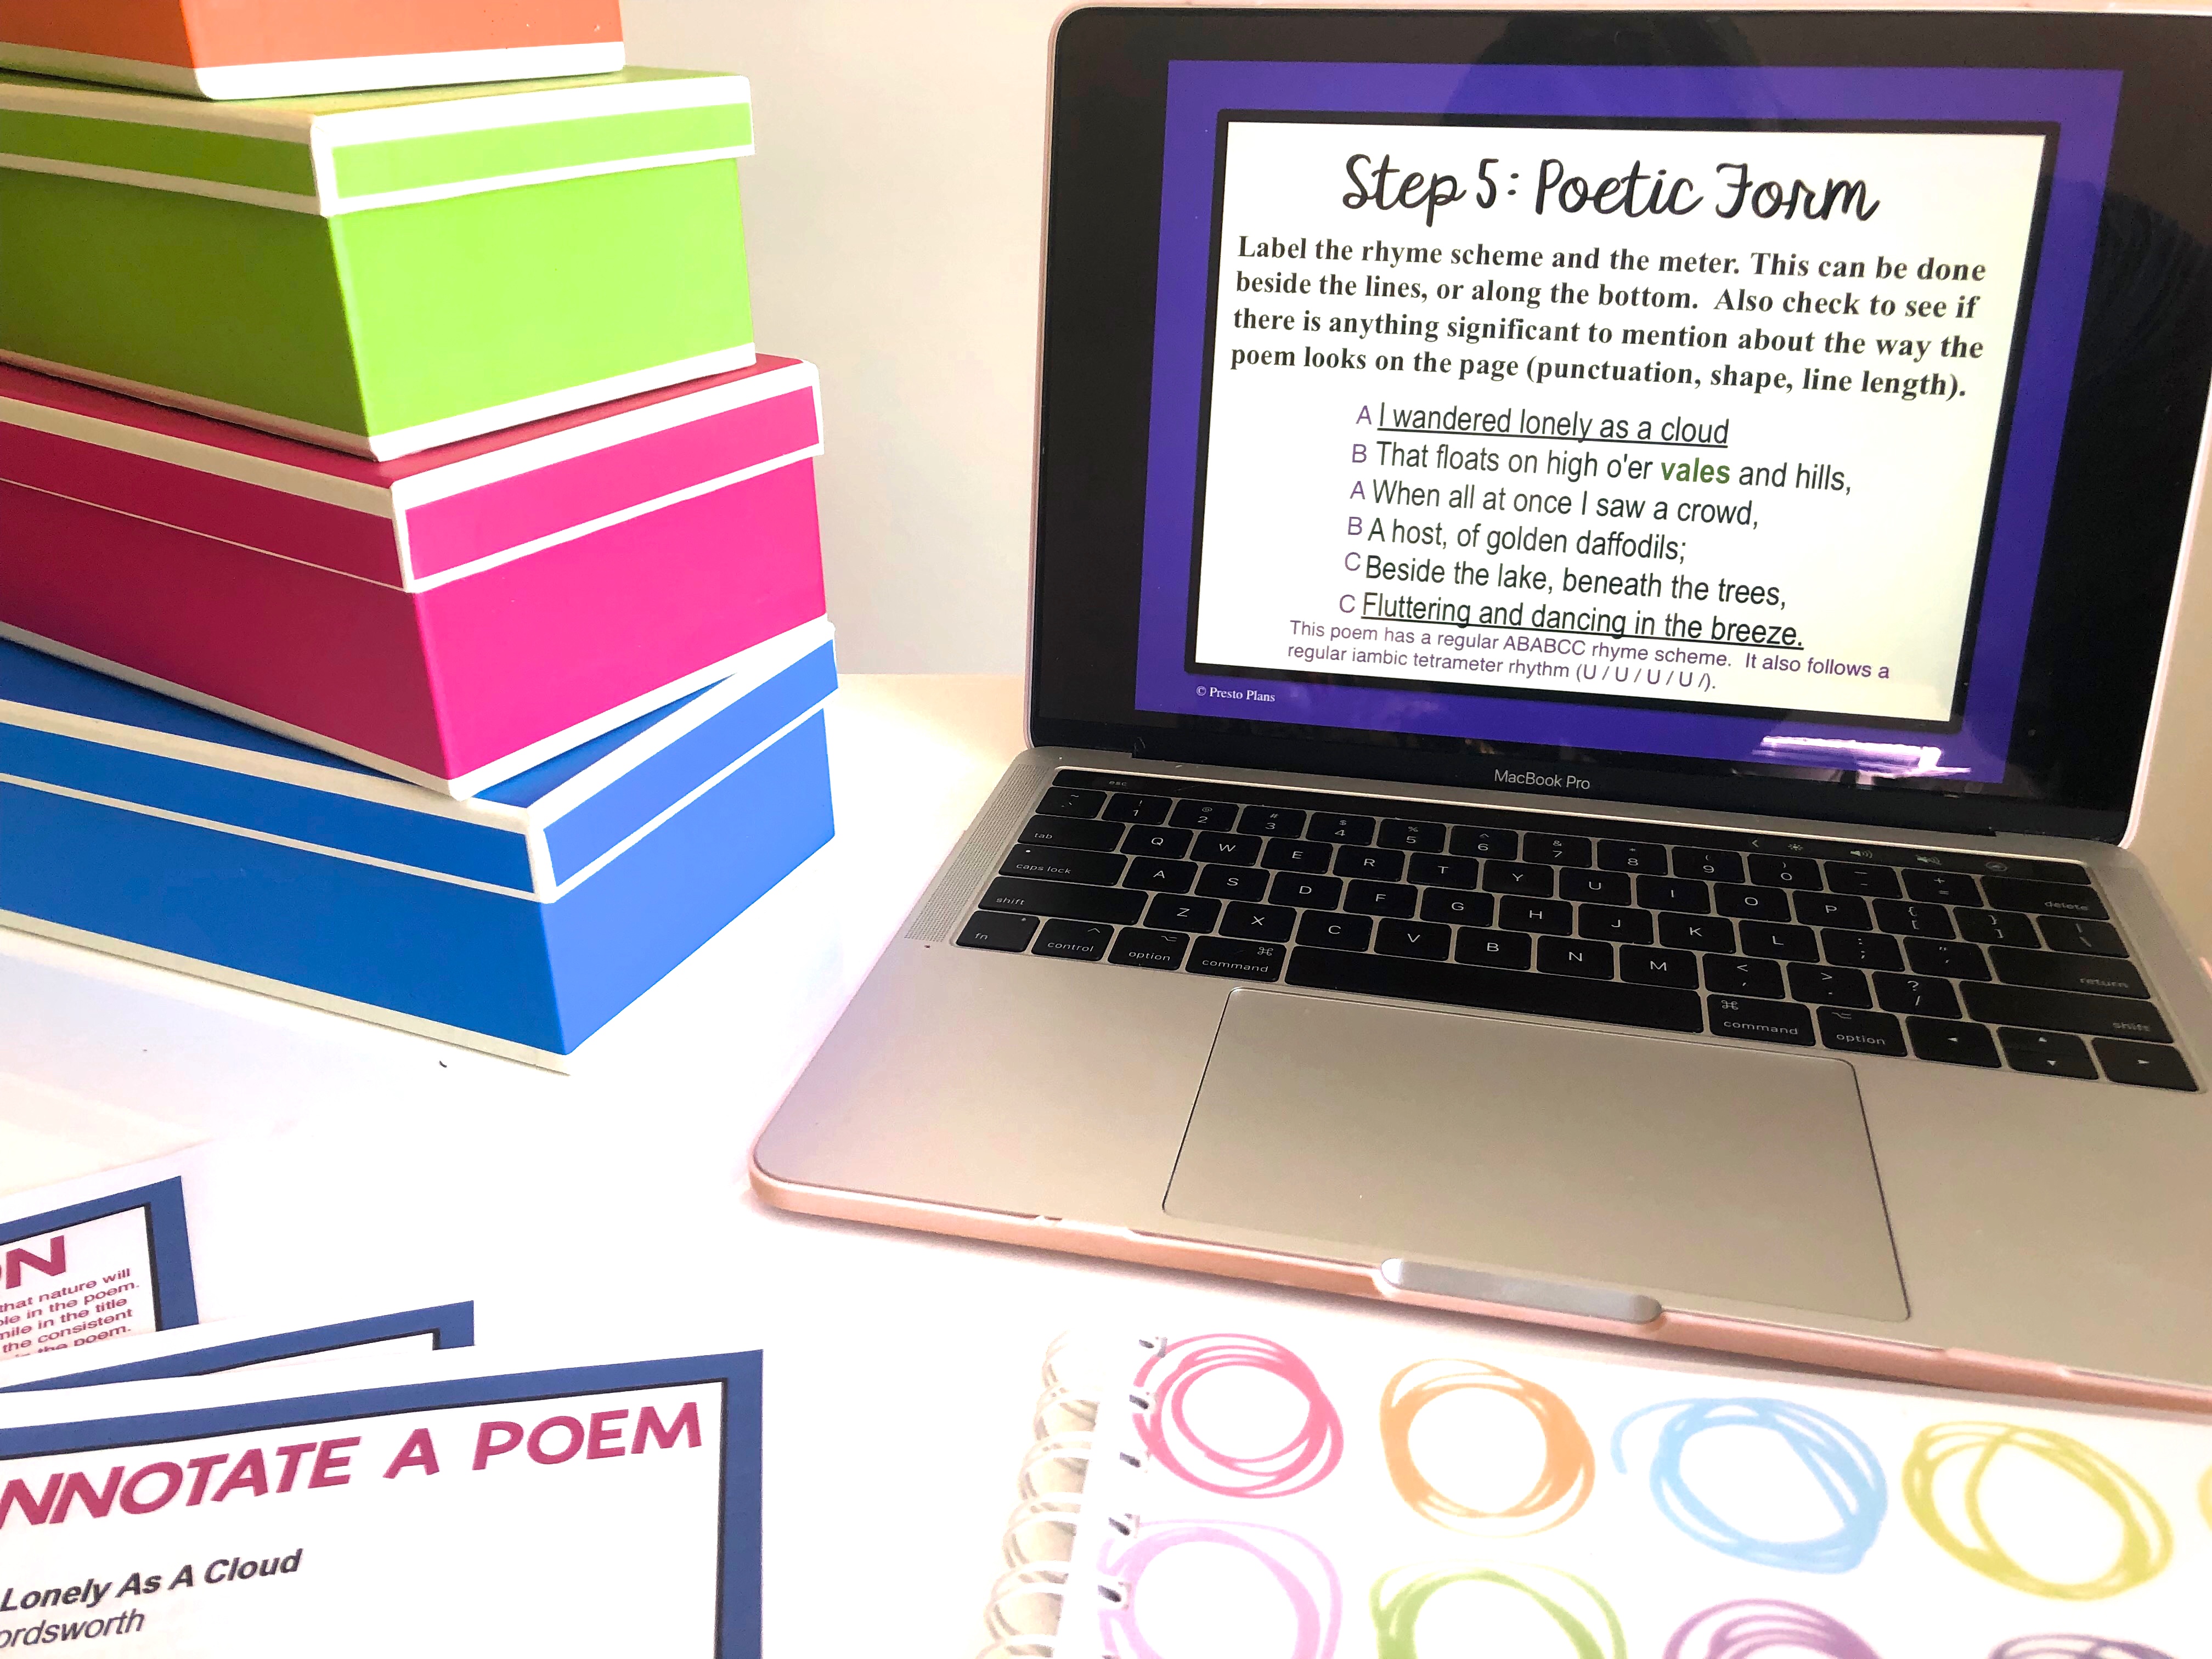
Step 5: Poetic Form
Unlike many other genres of writing, the form of a poem can often play an incredibly significant role in the poem’s meaning. Show students how to examine rhyme scheme, meter, punctuation, and even line length and examine how those elements contribute to the overall meaning of the piece.
Step 6: Interpretation (Theme)
This step allows students to dive more deeply into the intention of the piece. They may want to consider the reason that the poet wrote this poem. Is there a theme that emerges? Can they make any connections between the content of the poem and the world around them? Encourage students to not be shy in putting forth their speculations since there are no right or wrong answers.
Step 7: Finishing Touches
The final step is a catch-all of other things that may have stood out as important. Perhaps the student was thinking about something while they were reading. Or maybe a word stood out to them as important. While this is a step-by-step process, tell students that if they think of something interesting outside of these steps to include it! The whole point is to keep piecing together the poetic puzzle until a complete picture emerges. It’s also important to note that everyone’s final puzzle might look slightly different, and not only is that A-OK; it is part of the beauty and fun!
Teaching students how to annotate poetry is a valuable skill they can use repeatedly, that will increase their confidence and help them read it more effectively while cultivating a deeper appreciation of the art form. If you’d like to get your students started with this process right away, grab this Poetry Annotation Resource.
If you’d like to get your students talking about poetry, you’ll definitely want to sign up for my 10 Days of English Teacher Giveaways. On day 6, I’ll be sending you some poetry discussion task cards that you can use to help students annotate any poem you are reading!
Search the blog for what you are teaching
GIVEAWAYS
sent straight to your inbox!
share this post